
Can you make 77 cards from the same paper pad?
Ah, the question that’s been asked since the very dawn of time – passed down through the generations. Is it truly possible? Can this true feat of human engineering be accomplished?
Well – I’m here to tell you that you can. How do I know? Because I did it!
Anyway, enough silliness. I used the 8×8″ version of First Edition’s classic Hey Baby Paper Pad to create 77 new baby cards, all to donate to my local hospital’s maternity ward, for the staff to give to the patients. I did this before on a smaller scale – you can check out that video here – but this time… I guess I really went the whole hog. Or maybe the whole sprog.
If you’re here, you maybe already watched the process video and spotted a card or two you’d like to take a closer look at. You’ll find all the photographs of each card in this post, along with a few extra tips and tricks. If you haven’t seen the video and want to see how I made them all – well it’s your lucky day! Here it is, just for you.
The Numbers
I ended up making 77 cards from a single 8×8 paper pad – I’m not sure exactly how long it took, but my guess would be around 15-20 hours total, including making all the card bases and fussy cutting images.
The Materials
I worked with a limited palette of supplies for this project – sometimes I find I’m more creative when I have a smaller pool of options to work from. This is a great tip if you are feeling overwhelmed by your collection and I recommend it highly!
I’ve listed most of the products I used and the links to purchase them below – any discontinued items are no longer available from the main retailers, but you may be able to find old stock on eBay or from smaller stores.
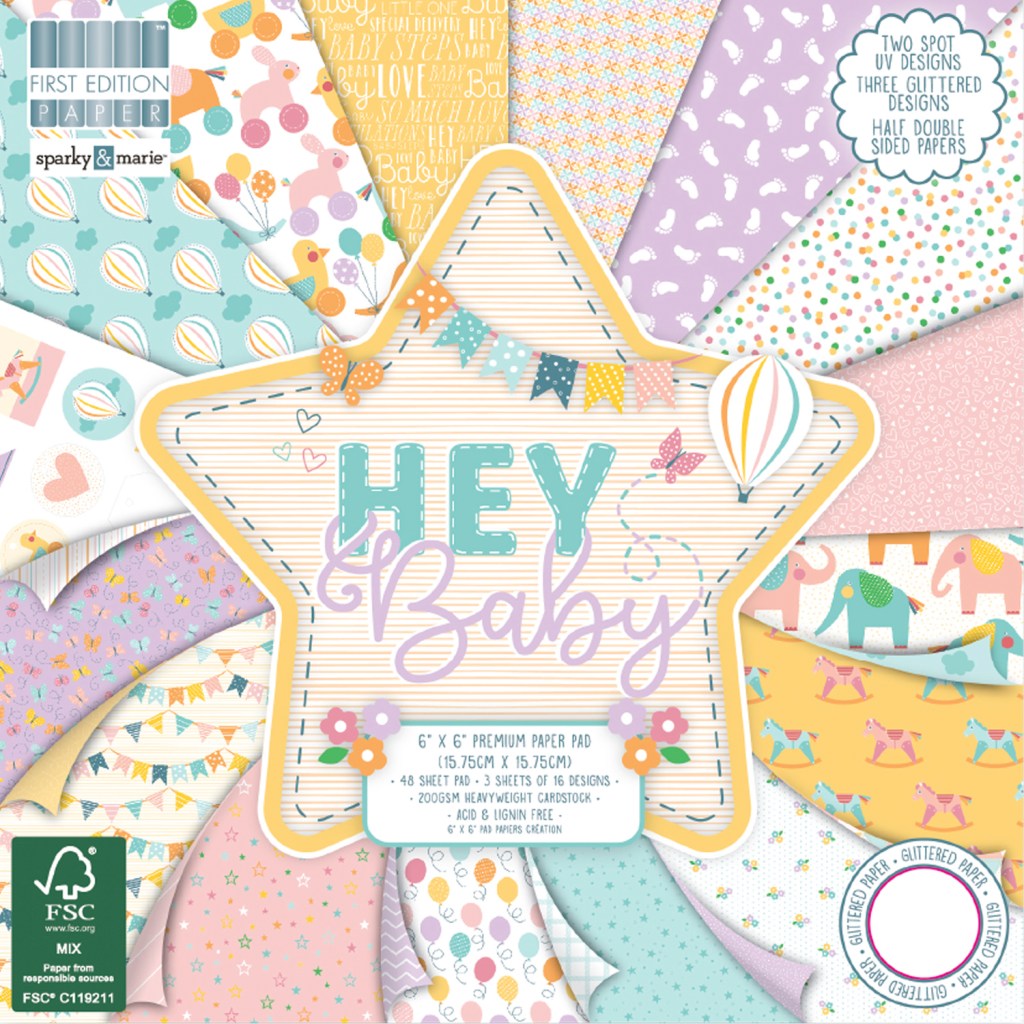
First Edition Hey Baby Paper Pad | Discontinued 
Clearly Besotted Mini Calligraphy Stamp Set | Available here 
Nuvo Glitter Accents in Fresh Snowfall | Available here 
Limetree Craft Smooth White 300gsm Card | Available here 
Baby with Blocks Clear Stamp (AliExpress) | Available here 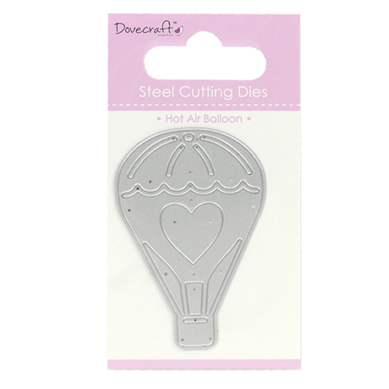
Dovecraft Hot Air Balloon Die | Discontinued 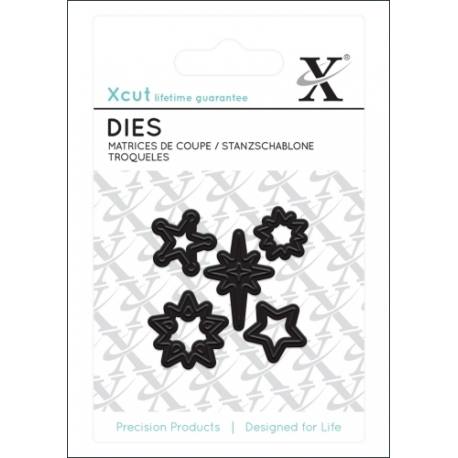
Xcut Mini Stars Dies | Available here 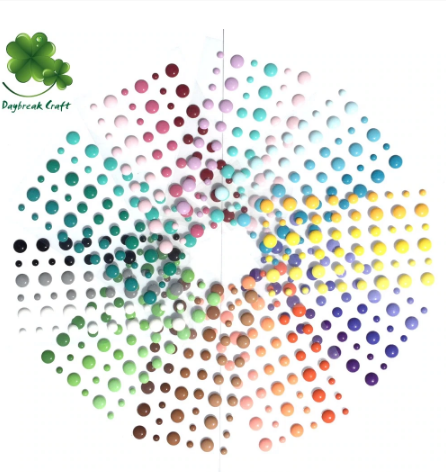
Enamel Dots (AliExpress) | Available here 
Mini Sequins (AliExpress) | Available here
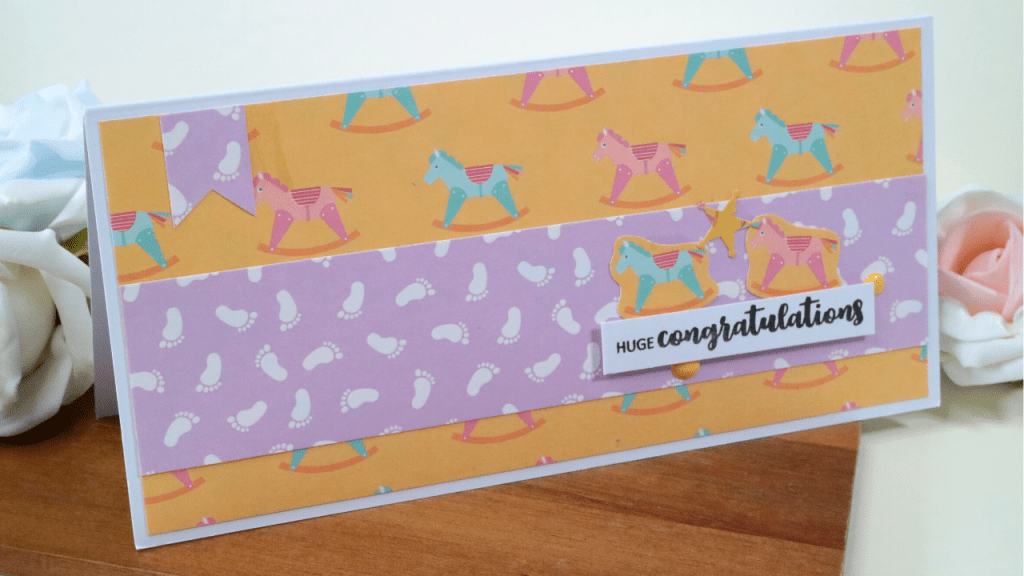
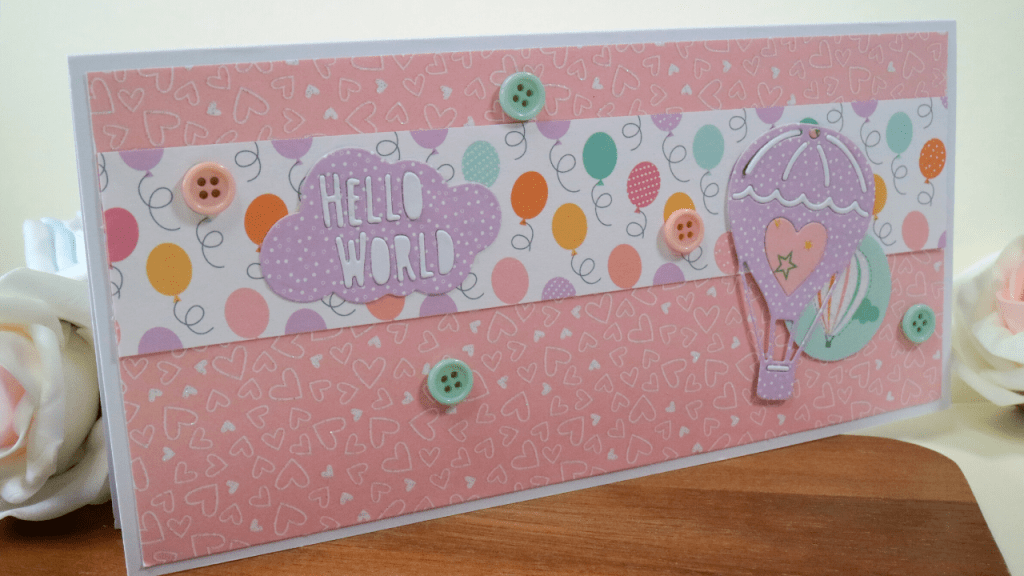
The Slimline Cards
I made a couple of different sizes of cards during this project – because hey, why not? Gotta keep myself entertained somehow. The largest of all were the slimline cards, which unfolded, measure 8 1/4″ by 8″. They’re folded on the shorter side to make a card vase that measures 8 1/4″ by 4″. This meant I could make the main card mats 8″ by 3 3/4″, letting me get 2 slimline card mats from each sheet of 8×8″ paper.


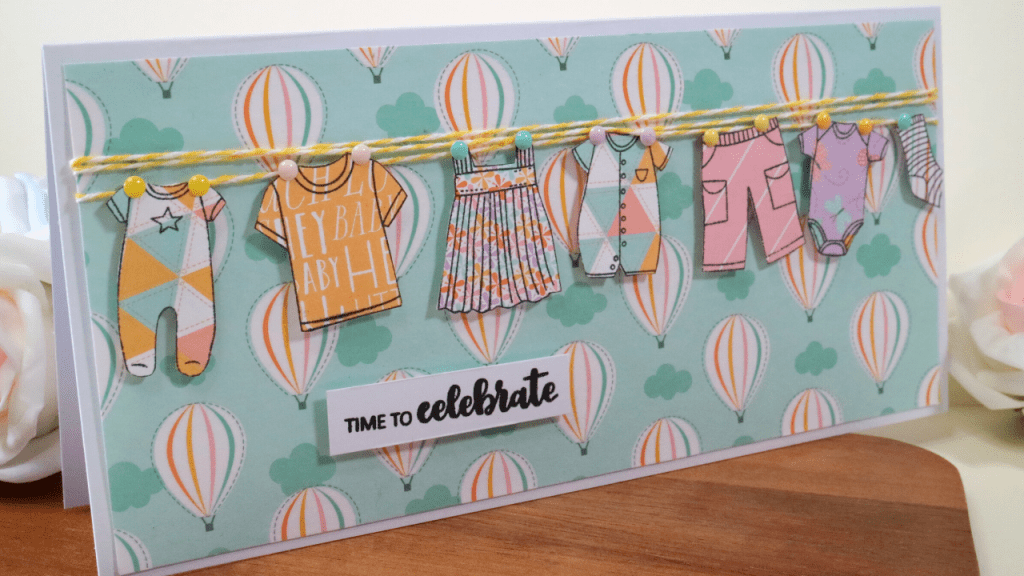
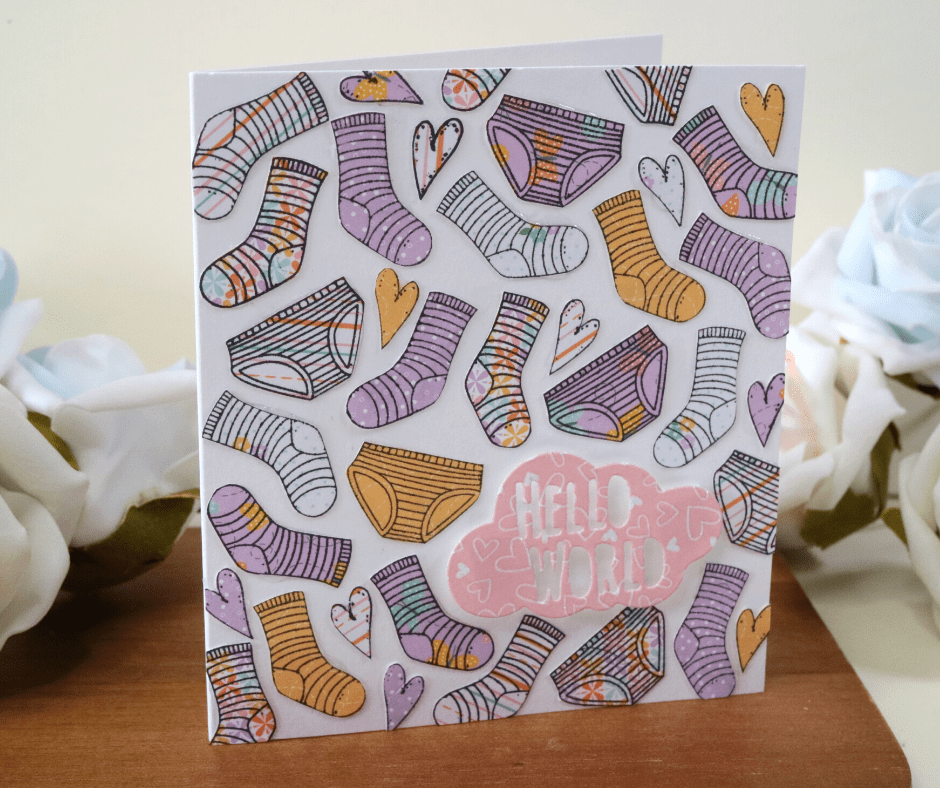
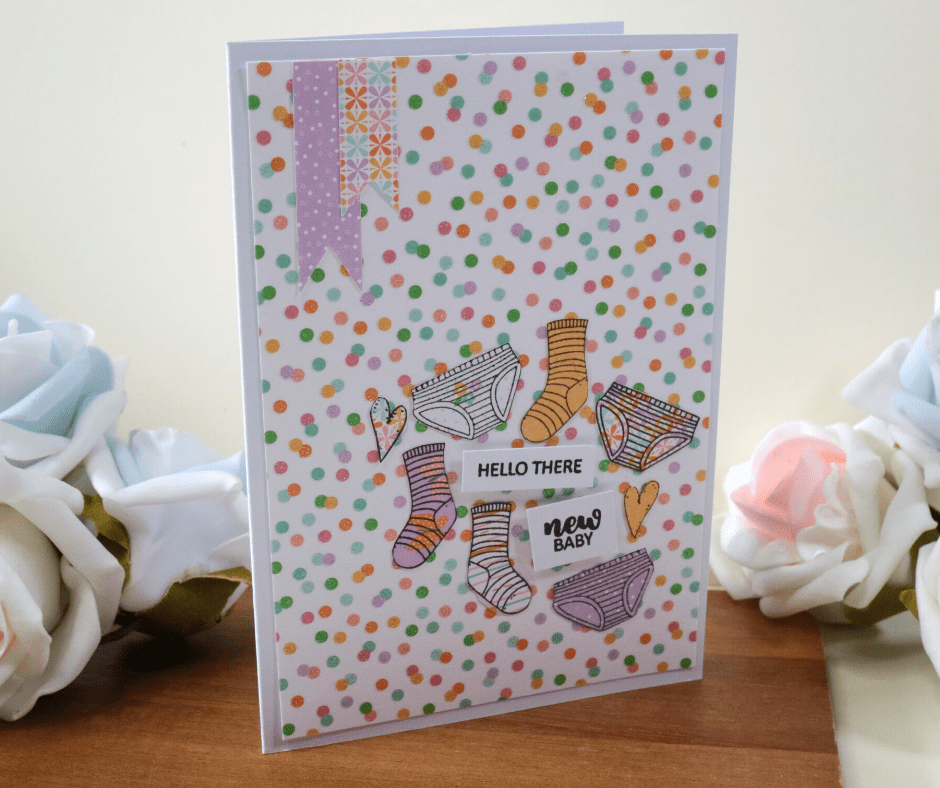
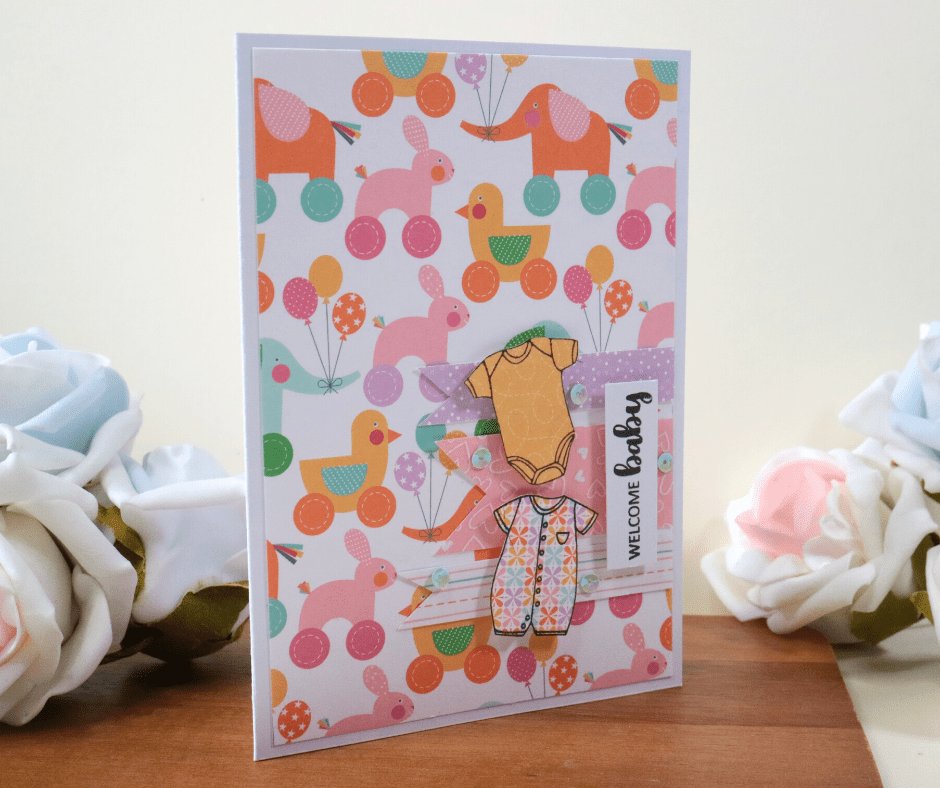
My favourite slimline card of all this is washing line inspired design – super cute, and really easy to do!


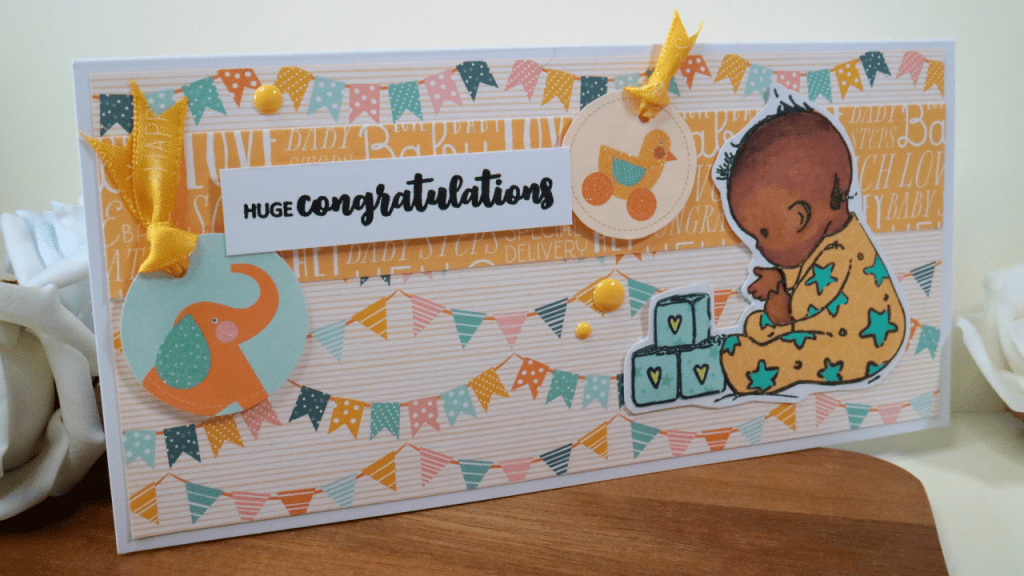

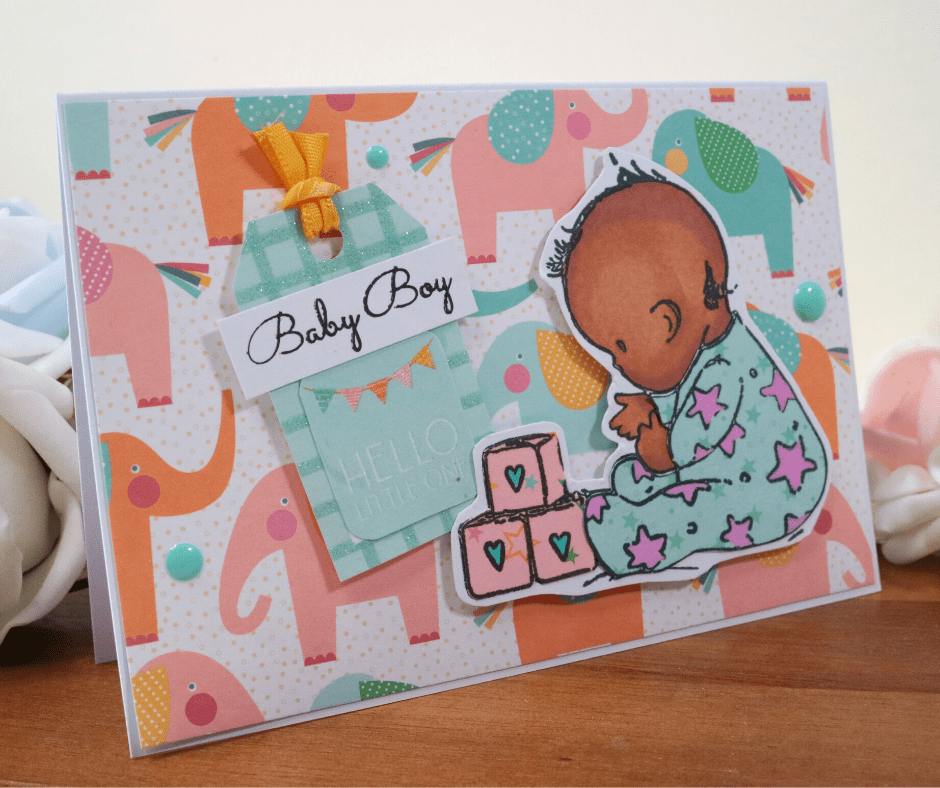
Since these cards are to be donated, I decided to colour the babies with several different skin tones. It’s a small change, but I think it will be all the more special for parents to receive a card that represents them and their baby.

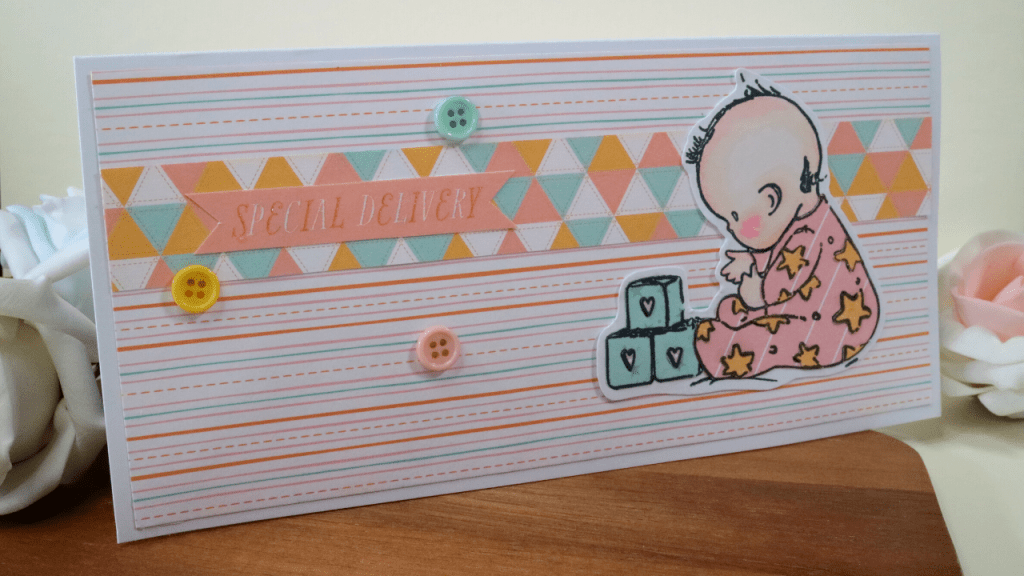
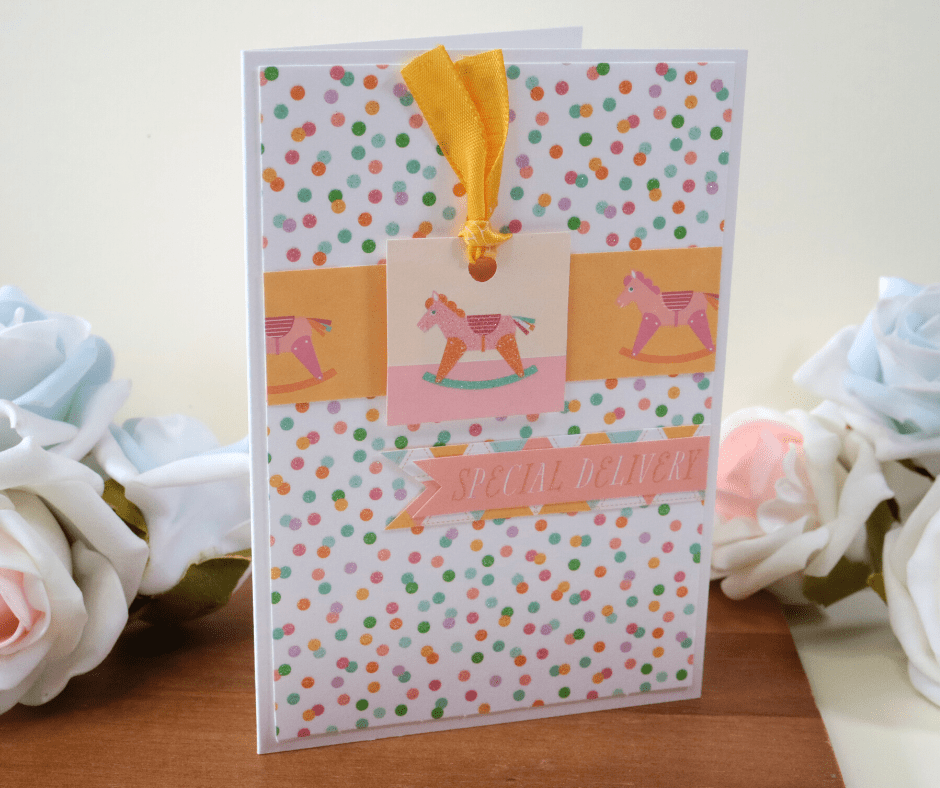
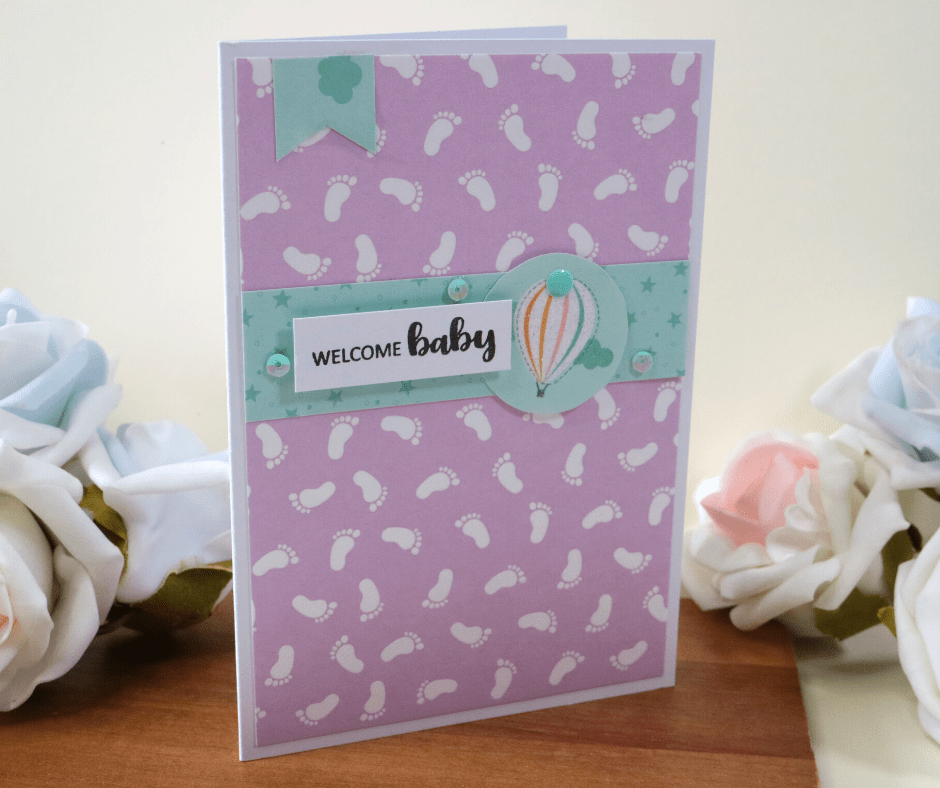
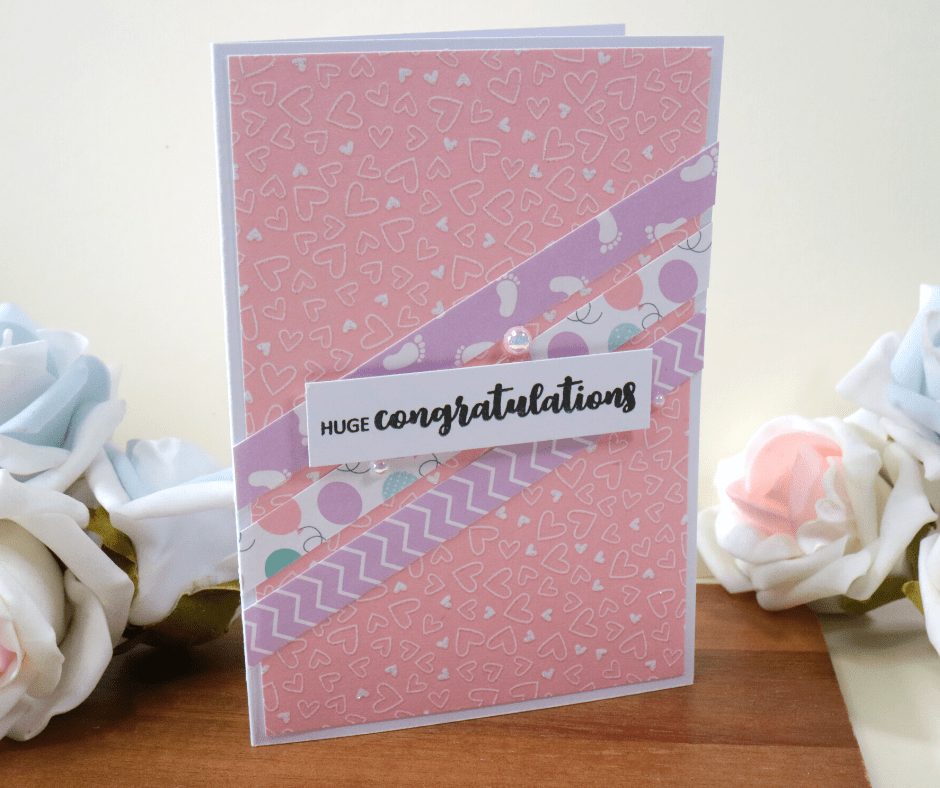
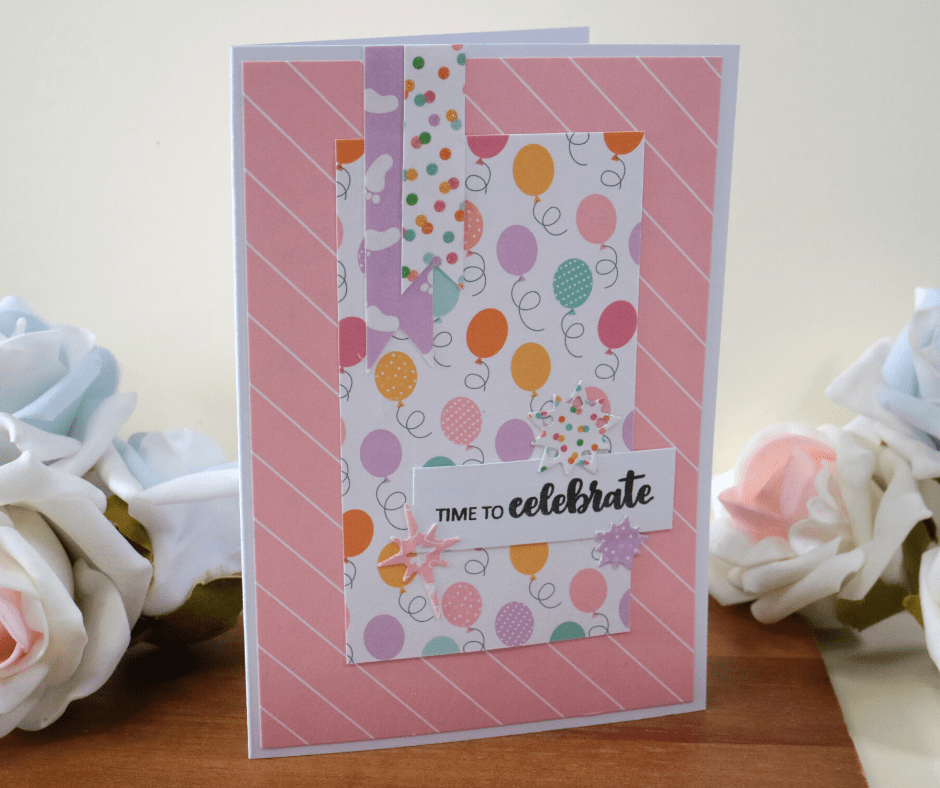
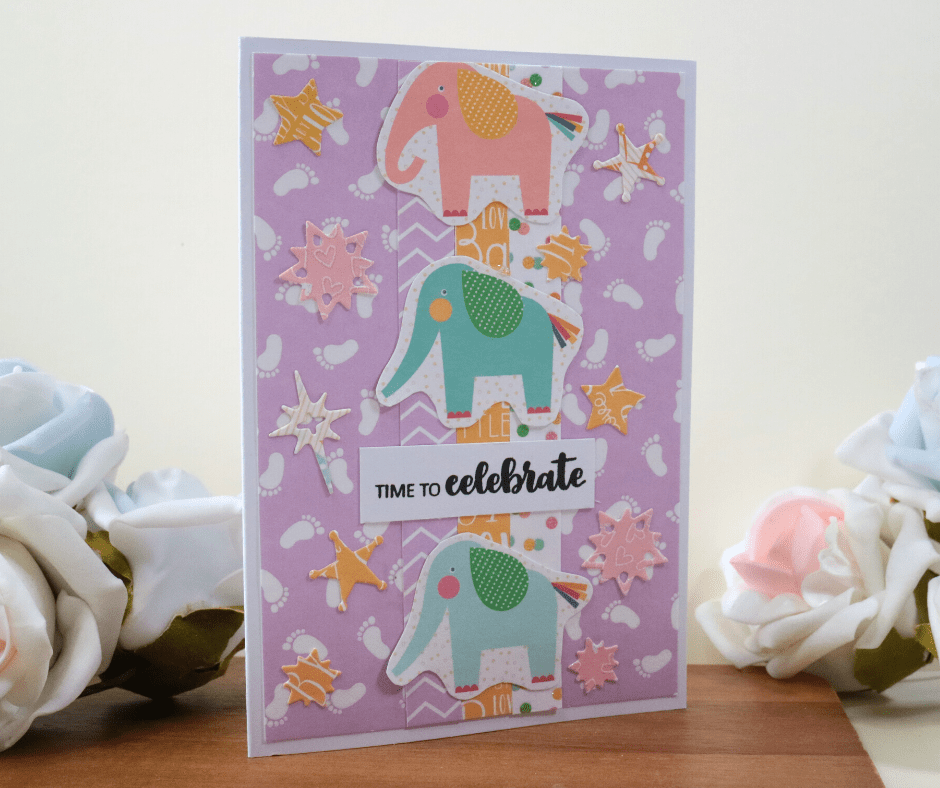
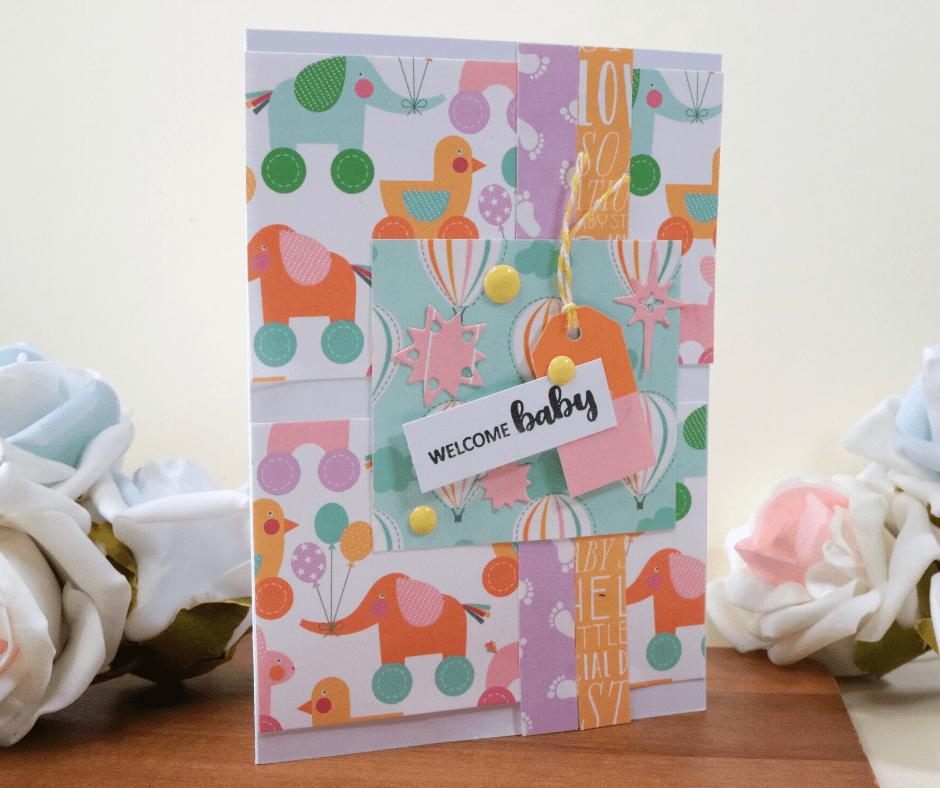
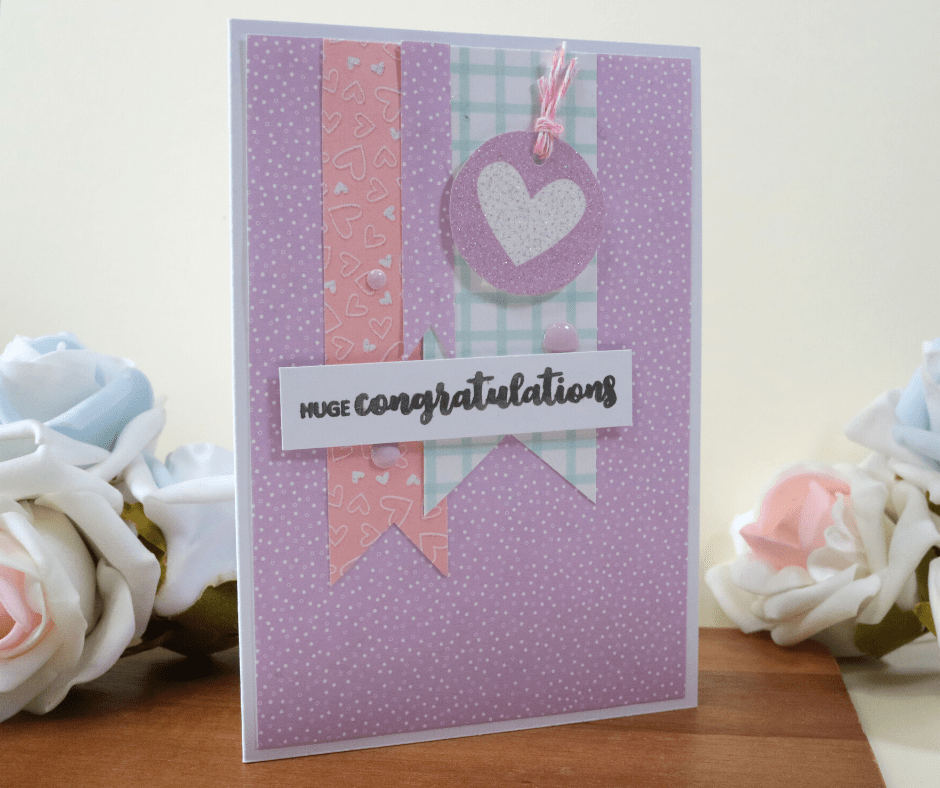
The Portrait Cards
The other size cards I made measure 5 3/4″ by 4″, which has been my go-to size lately. You can make two bases from an A4 sheet with a small amount of wastage, but it makes them in nice rounded 1/4″ increments, which I find much easier when working out mat sizes. Most of my mats are 1/4″ smaller as that’s what I prefer the look of – making those background pieces 5 1/2″ by 3 3/4″.


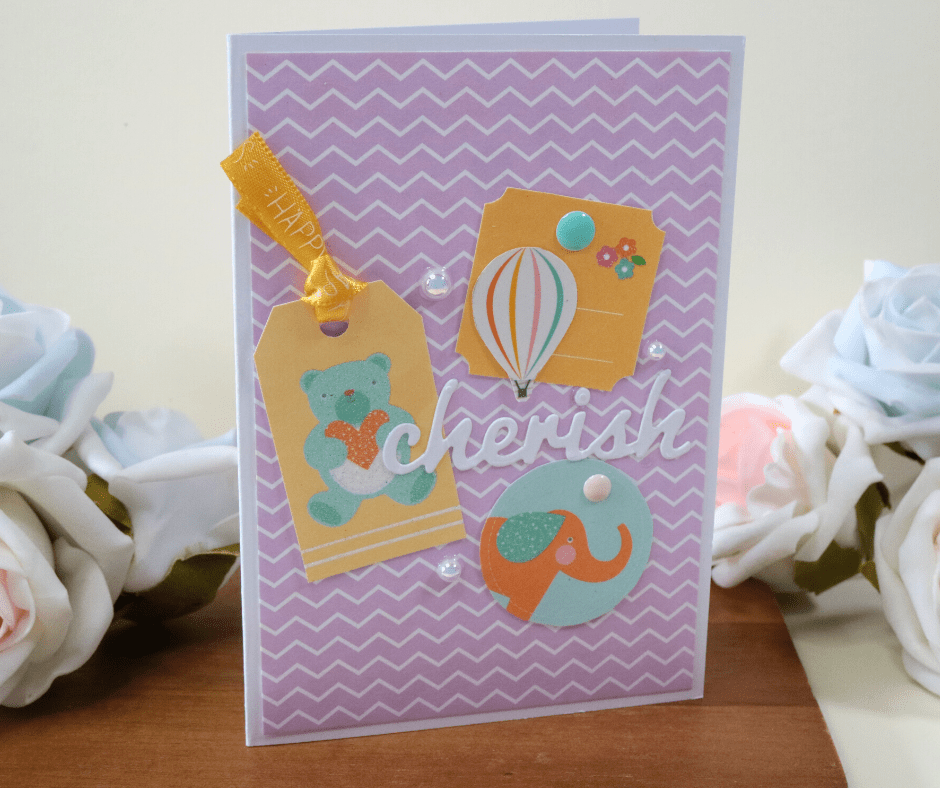
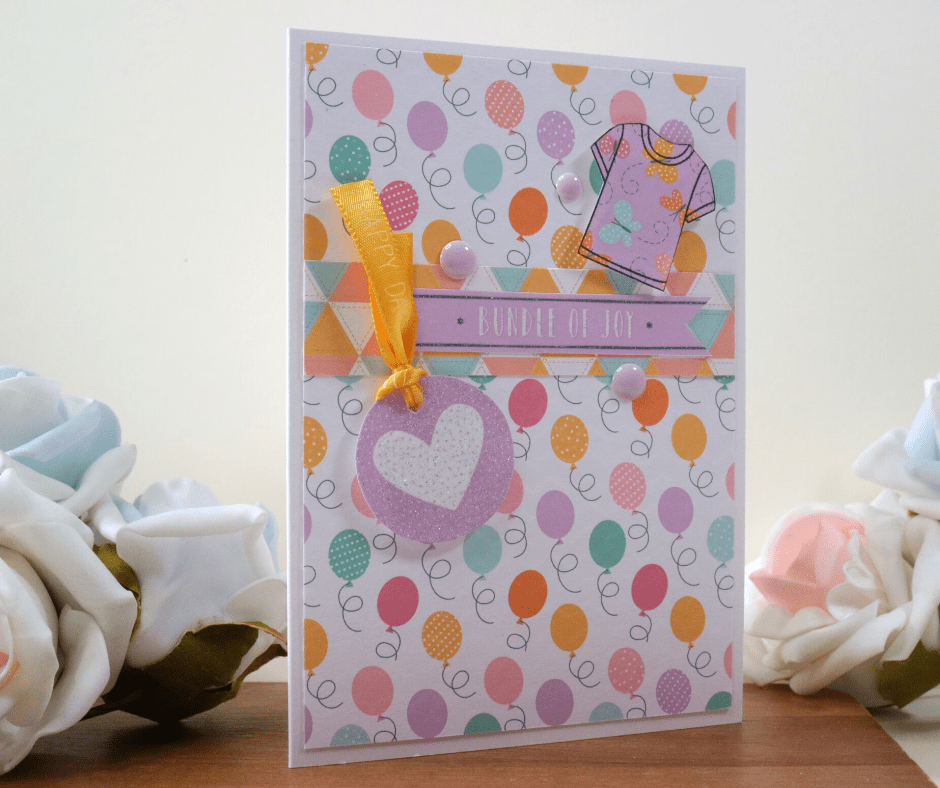
While I initially wasn’t a huge fan of how the Nuvo Glitter looked on most of the cards, I found that when I used it as an accent as part of the patterned paper background, I really liked the effect. In the two examples above, I think it’s really given an extra accent to otherwise quite simple cards.


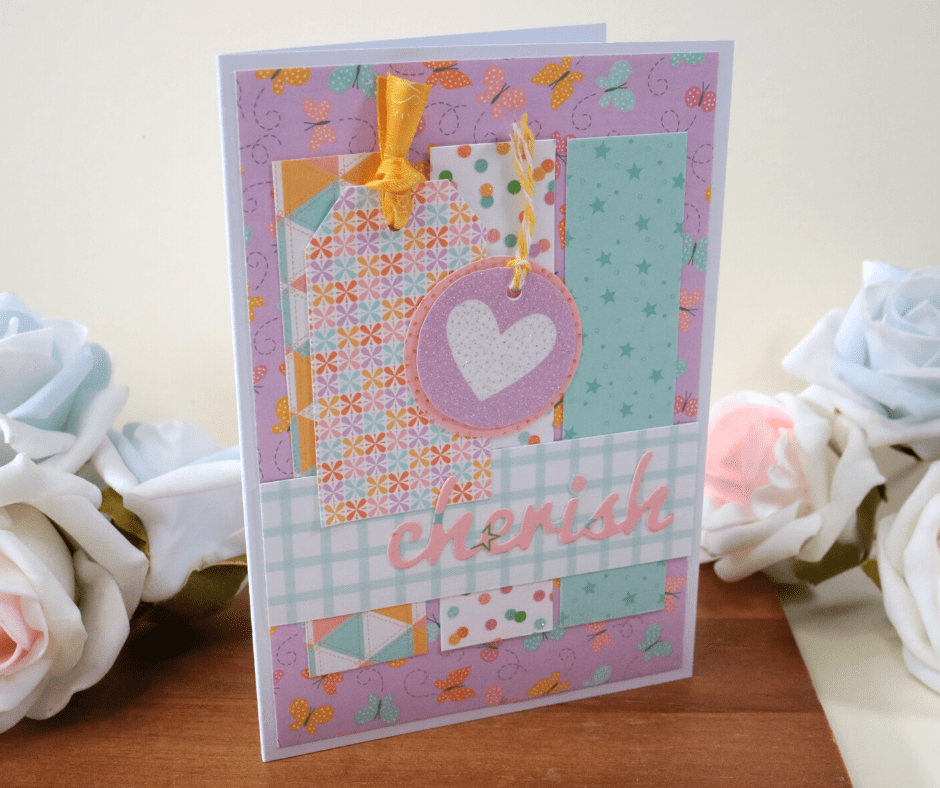
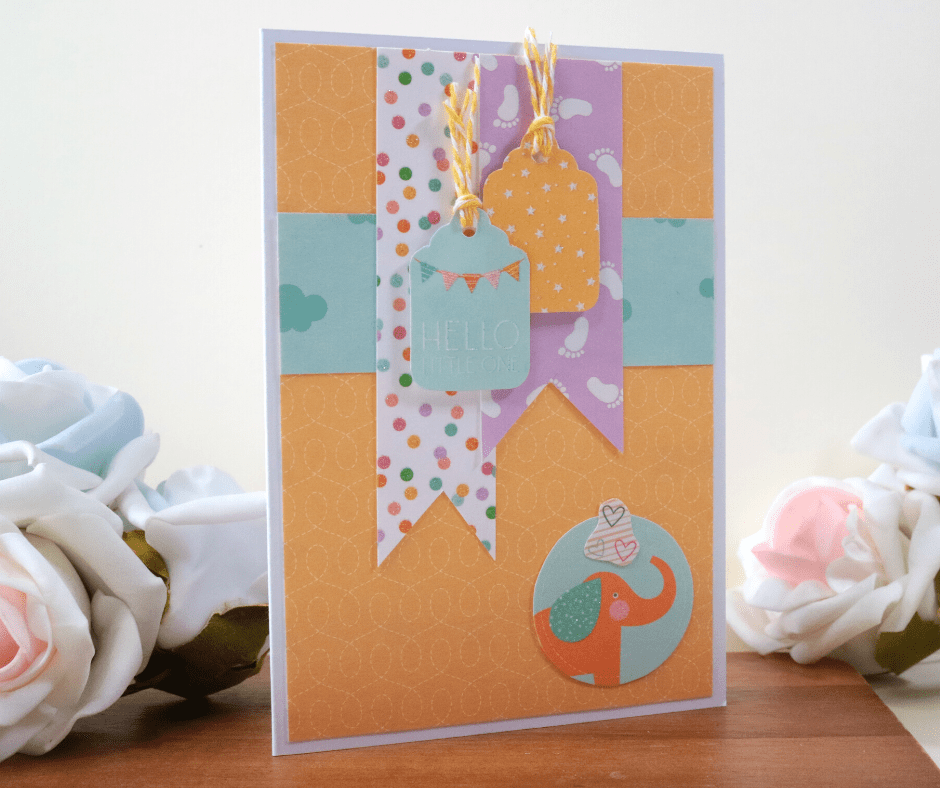
Wrapping twine around a panel is an excellent way to bring some extra interest to an otherwise plain panel or balance a design. This was a handy technique to use as I began to run out of elements to use for focal images on the cards.

A couple of my favourite cards used images stamped on the patterned paper and arranged in an abstract pattern. This is a great technique to use smaller, more detailed patterns, use up scraps or create additional focal elements from a pattern-heavy paper pad.

Near the end of the project, I ran out of sheets large enough to make a full background panel. I did, however, have lots of wide strips – so I turned a few into large fishtail banners for a few cards. I often make use of the card base as part of the design – there’s no reason you need to have a full background panel if you don’t want to!
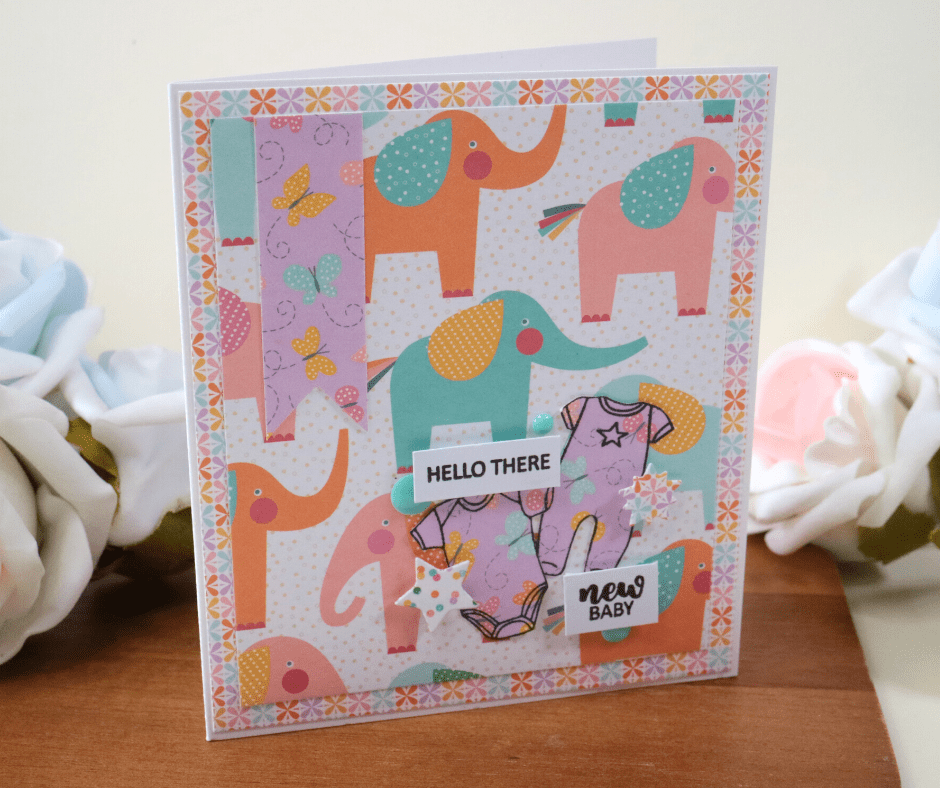


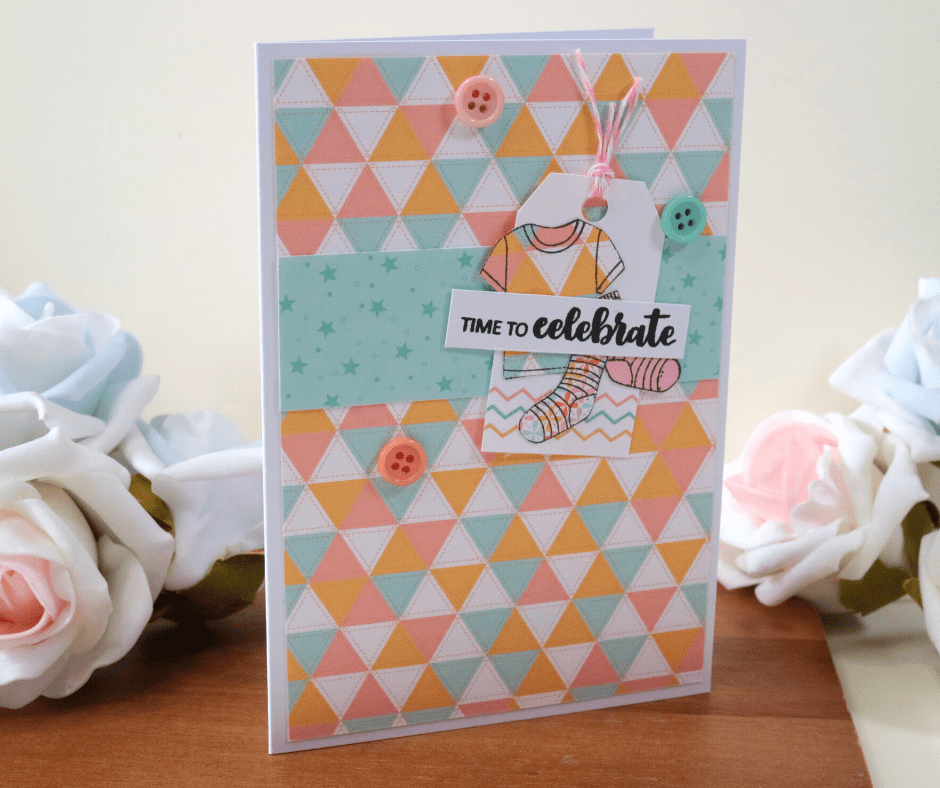


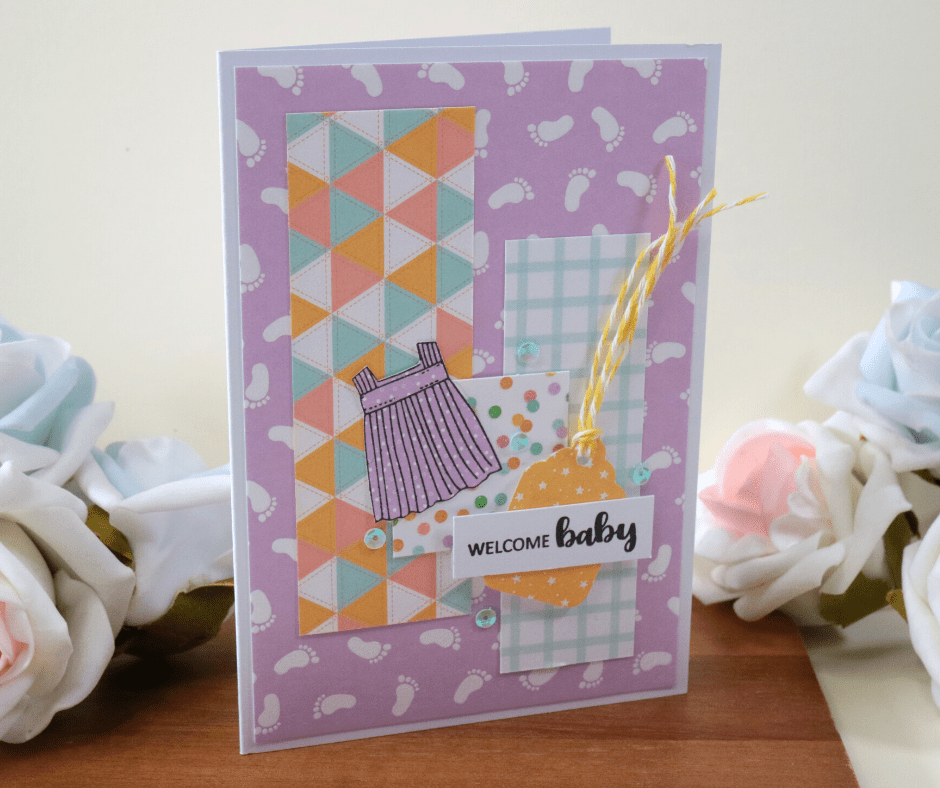

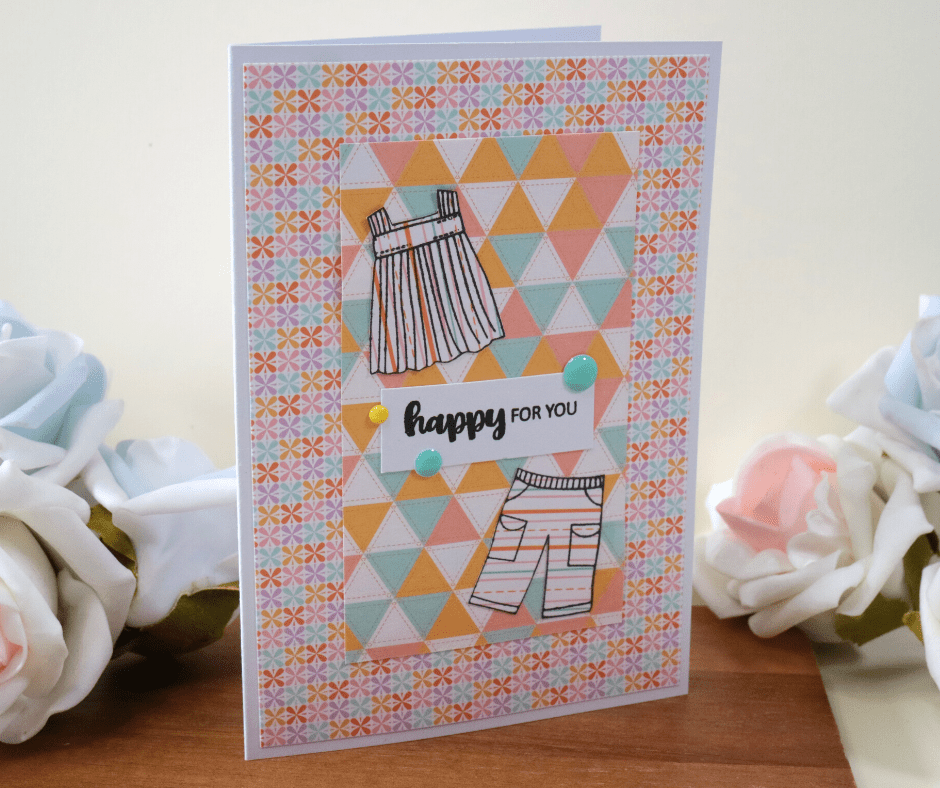

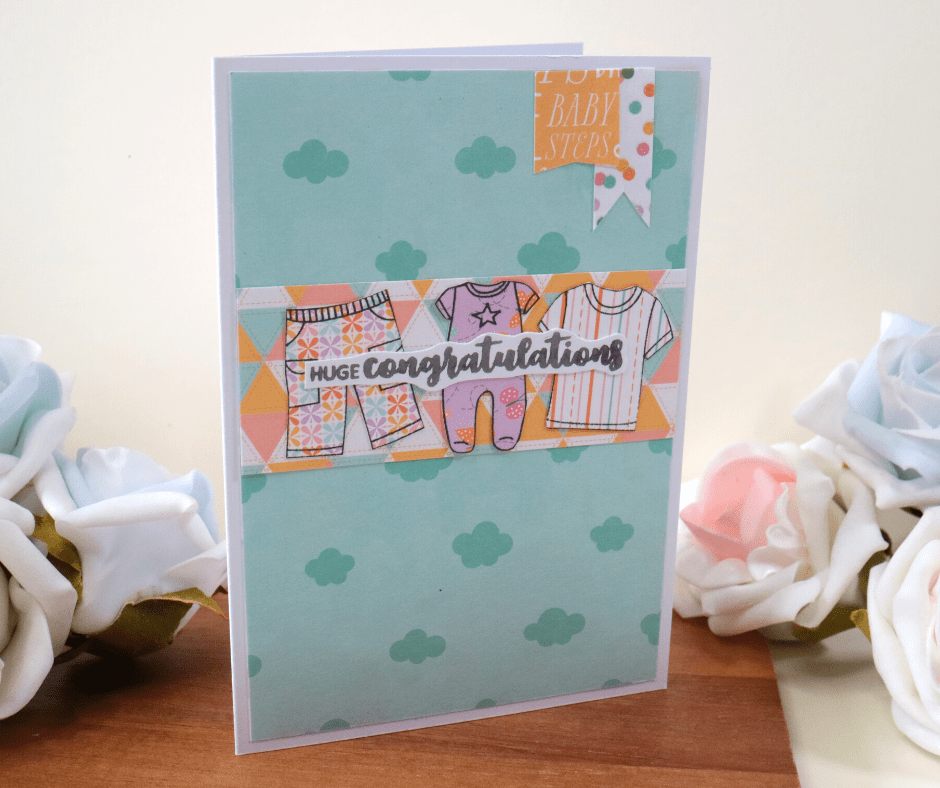


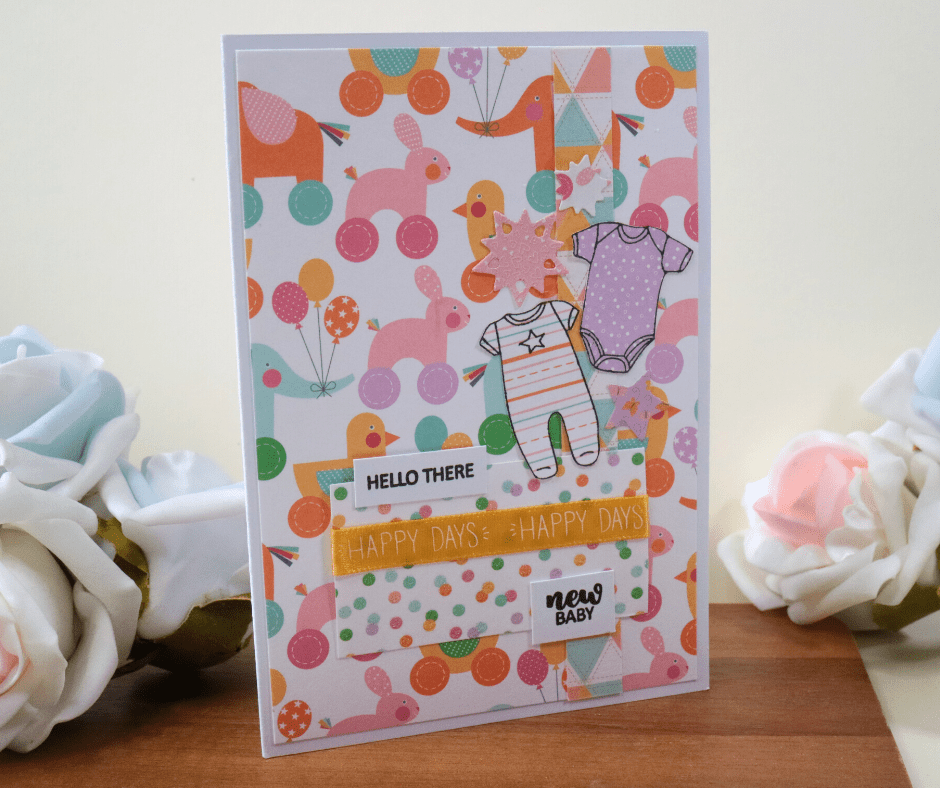
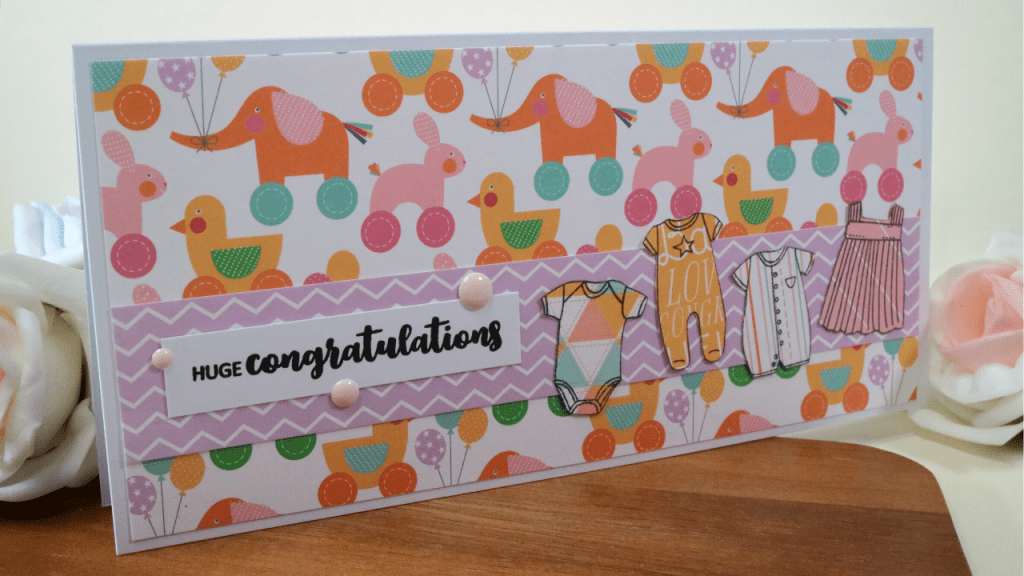
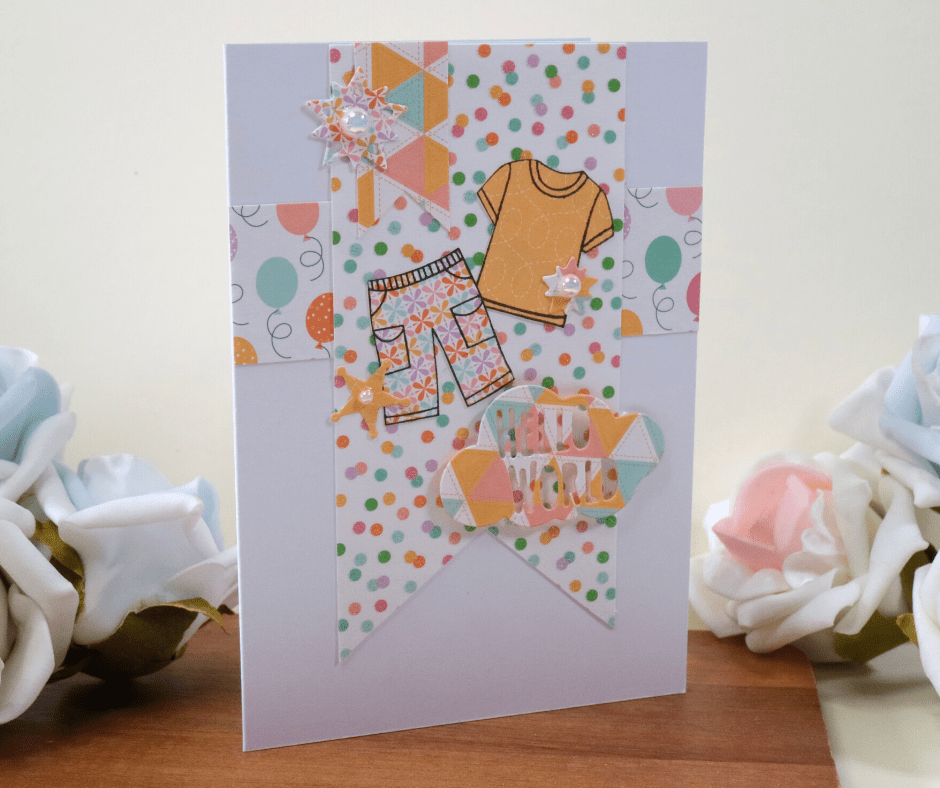
I came to really love the technique of stamping the little baby clothes onto the patterned paper and cutting them out. Since this paper pad didn’t have too many cut apart elements, it really gave me more options when it came to the design, and helped create a nice focal image on the cards.

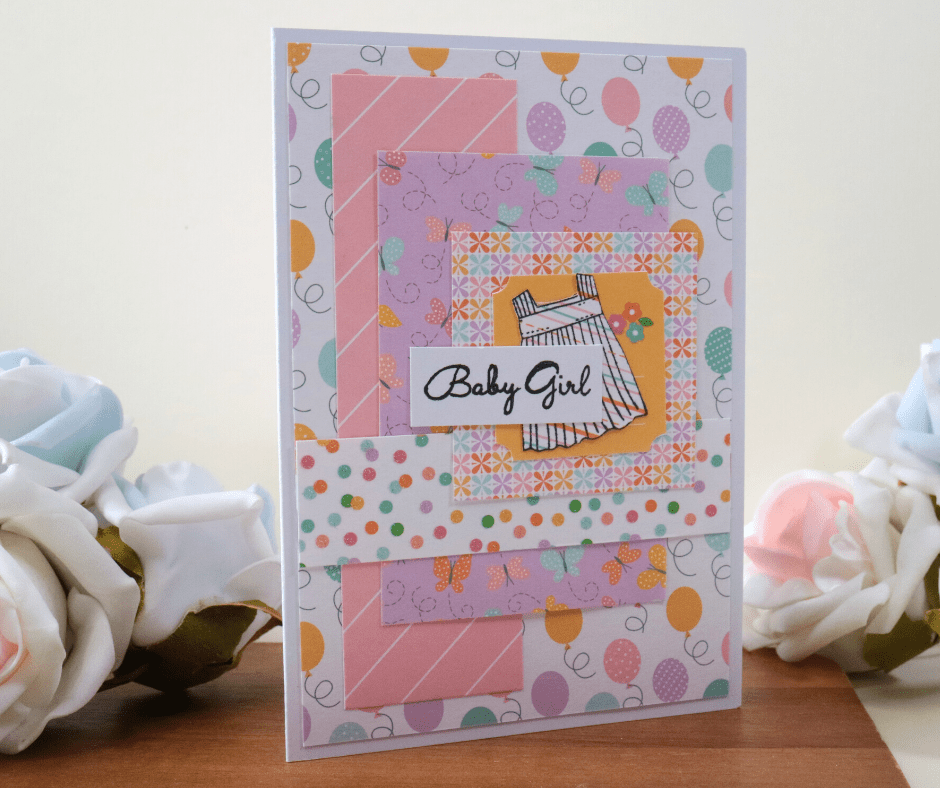
I don’t often repeat designs when I work on these projects – I know that’s much more efficient, but I’d definitely get bored faster! Sometimes I will make a couple of the same layout though – and this is an example of a design I liked so much, that I made two at once, with a different arrangement of patterns on each. This is a very adaptable design you could use with any co-ordinating patterned papers in your stash.

The Landscape Cards
My landscape cards were the same size as my portrait ones – just turned on their sides. My default when making cards this shape is to make them portrait orientation, but I thought I’d mix it up and do some landscape ones this time. Sometimes you do have to do some forward planning too – some patterns work better landscape, or when used in larger pieces. and it’s important to think about how you want to use them before chopping them up.

Such a simple design this ones, but oh-so-cute. I love the little iridescent pearls sprinkled across the card.


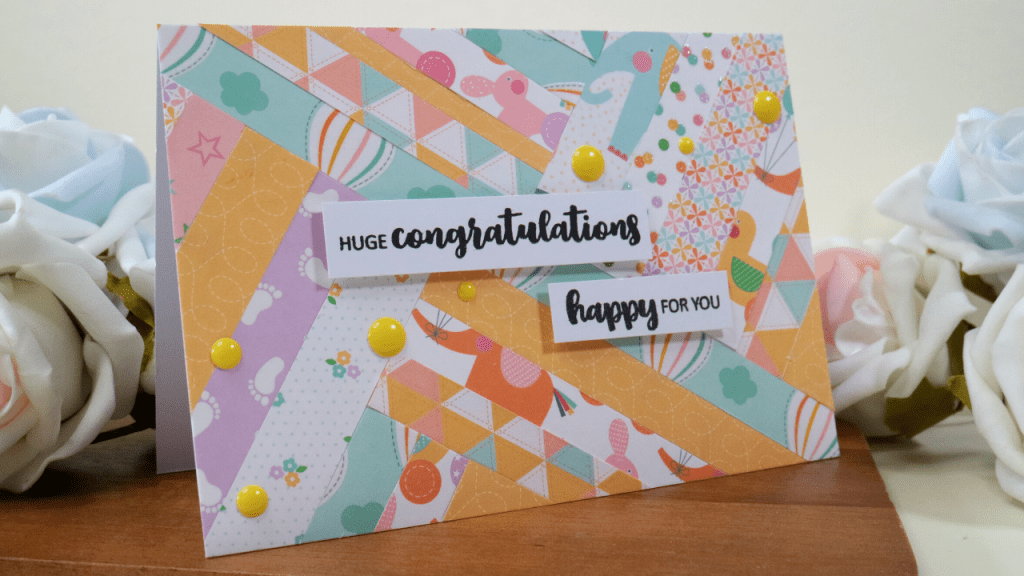
At the end of the project, all I had left was a lot of random strips – so I used these to make a herringbone style card! I’ve made this design quite a few times now, originally inspired by Sam Calcott’s video on it. A fantastic way to use up leftover strips of any width!
What did you think of my designs?
Some I came up with myself, some were adapted from card sketches – check out my Pinterest board here if you’d like to see the sources of some of my ideas. And don’t forget to check out the process video of these cards if you haven’t watched it already!
Until next time,
Alli xo

